Sourdough Discard Blueberry Bagels Recipe
Soft, chewy, beautifully purple, and bursting with juicy blueberry flavor — these Sourdough Discard Blueberry Bagels…

Soft, chewy, beautifully purple, and bursting with juicy blueberry flavor — these Sourdough Discard Blueberry Bagels…
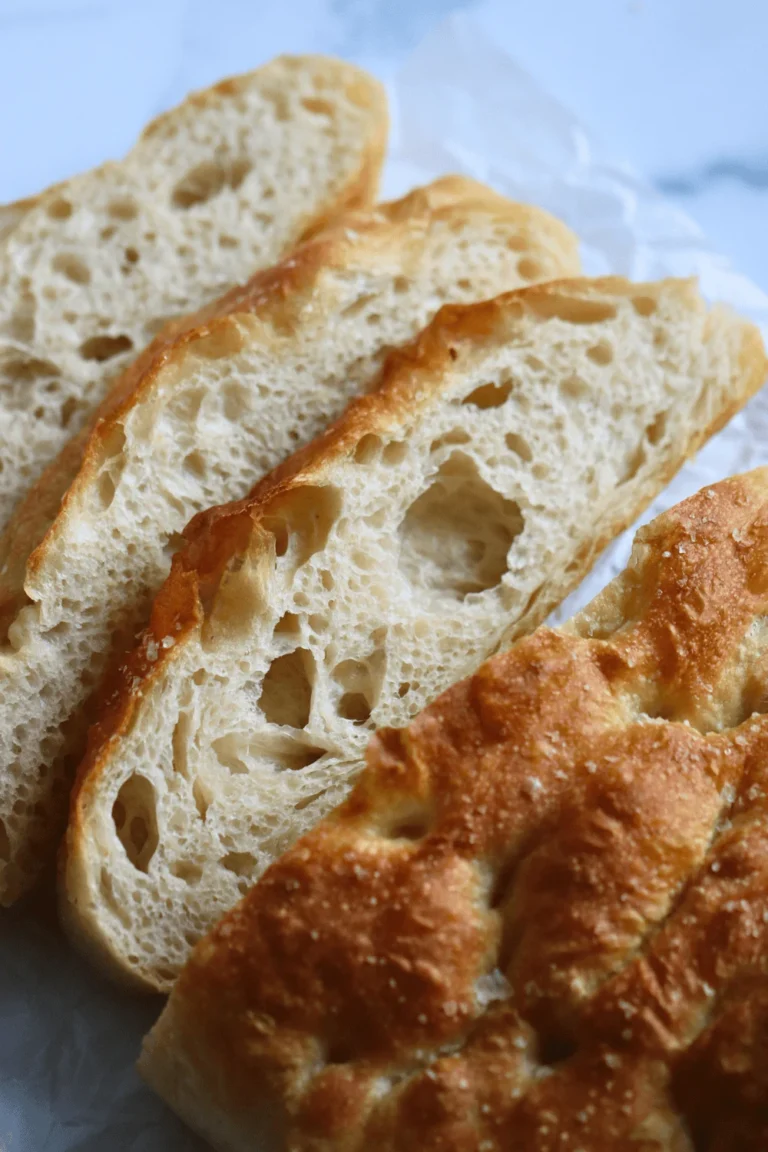
There’s something magical about pulling a pan of freshly baked focaccia from the oven. The golden…
Pellentesque id nibh tortor id aliquet lectus proin nibh nisl. Amet purus gravida quis blandit turpis…
Pellentesque id nibh tortor id aliquet lectus proin nibh nisl. Amet purus gravida quis blandit turpis…
Pellentesque id nibh tortor id aliquet lectus proin nibh nisl. Amet purus gravida quis blandit turpis…

Pellentesque id nibh tortor id aliquet lectus proin nibh nisl. Amet purus gravida quis blandit turpis…
Pellentesque id nibh tortor id aliquet lectus proin nibh nisl. Amet purus gravida quis blandit turpis…
Pellentesque id nibh tortor id aliquet lectus proin nibh nisl. Amet purus gravida quis blandit turpis…

Pellentesque id nibh tortor id aliquet lectus proin nibh nisl. Amet purus gravida quis blandit turpis…